Wave-engageSPARK Integration Through Zapier
Send an SMS automatically through engageSPARK every time you send an Invoice to a Customer in Wave
Step 1: Accept engageSPARK invite on Zapier. To do that, check this support page for steps. If you have already accepted it in the past, just Log-in to your Zapier Account.
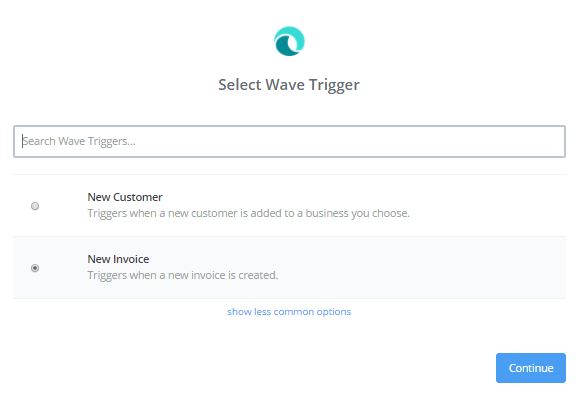
Step 2: Choose your Trigger App. This time, we will choose Wave.

Step 3: Choose the trigger so here, select New Invoice. So, every time you send a new invoice to a customer, Zapier will perform the tasks in the action app. After that hit Continue.
 Step 4: Connect your wave account, Test it and then once successful, hit Continue.

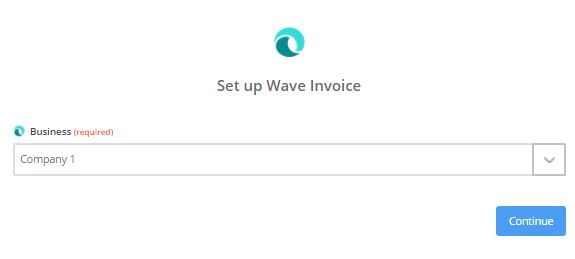
Step 5: Choose which Business the invoice should come from.
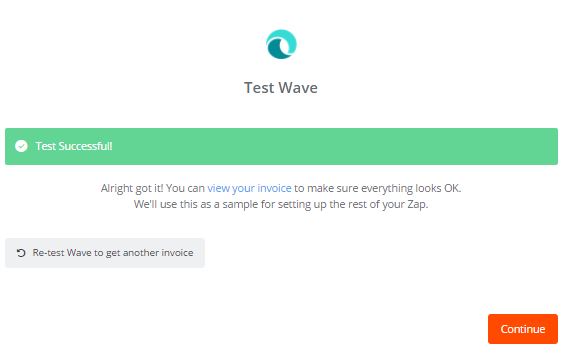
Step 6: Test it and hit Continue.
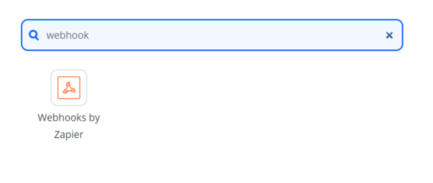
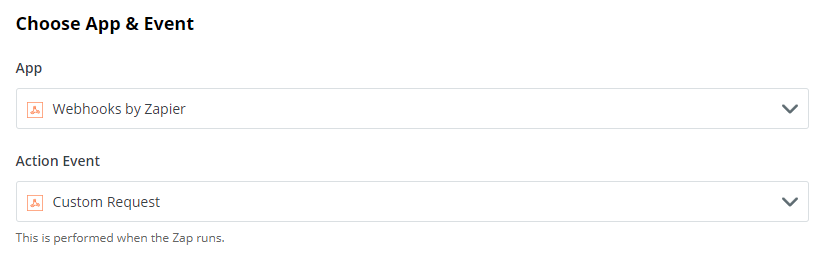
Step 7: Choose the Action App. Search for Webhooks by Zapier and select it as your action app.
Step 8: Choose the action you want the webhook to do. Here, we will select “Custom Request” because we will send a POST request in JSON format to trigger an SMS to your new contact using engageSPARK’s super fast and easy to use Send SMS API.
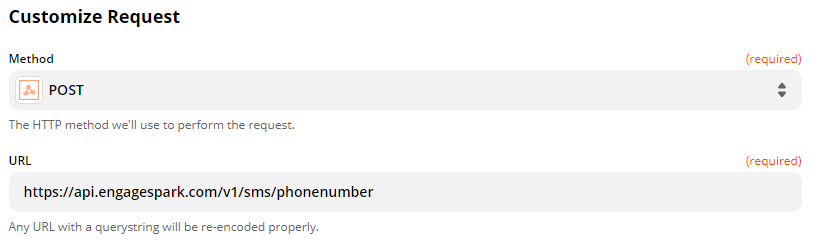
Step 9: Choose POST for Method and insert the engageSPARK Send SMS API URL in the URL section.
In the Data section, you can follow the sample below and don’t forget to replace these data with your own:
{
"orgId": REPLACE WITH YOUR ORGANIZATION ID,
"to": "REPLACE WITH DYNAMIC PHONE NUMBER OF YOUR NEW CONTACT FROM THE DATA DROPDOWN THAT WILL AUTOMATICALLY PULL UP",
"from": "REPLACE WITH YOUR REGISTERED SENDER ID/VIRTUAL NUMBER/SHORTCODE",
"message": "REPLACE WITH THE MESSAGE YOU WANT TO SEND. FEEL FREE TO PERSONALIZE MESSAGES BASED ON THE DATA YOU HAVE IN YOUR CRM THAT IS AVAILABLE IN THE DATA DROPDOWN"
}
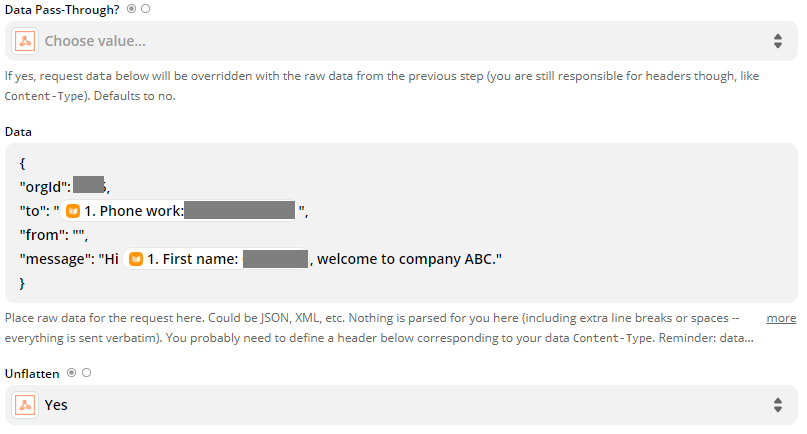
You also need to put your API Key after Token in Headers > Authorization. Once done, you can proceed to the next step tp send a test SMS to your contact.

Step 10: If the test is successful, it will show you this message. Otherwise, it will give you an error message to let you know which part of the Zap has issues and needs a review.
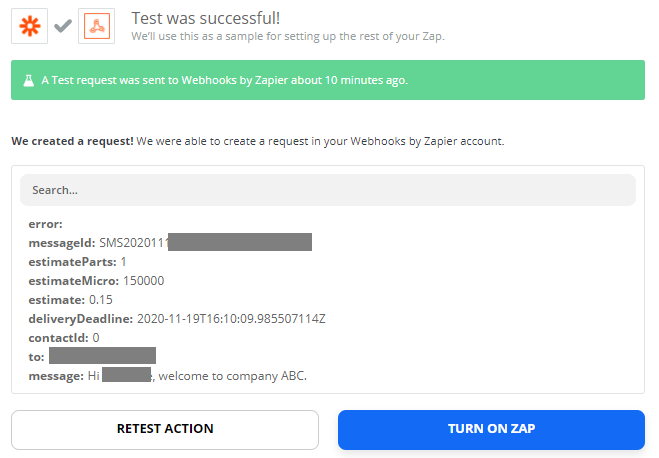
Step 11: Once the test is successful, click Done Editing and Turn on your Zap. Test it by adding a new contact in your Onepage CRM Account.

Note that these steps are not exclusive to a “New Invoice” but you can also follow these steps if you want to send an SMS every time you add a new customer or a new custom object to your Wave account.
Related Articles
SMS Webhook »
Subscription API – Documentation »
Zapier Integration »
Voice Results Webhook »
Have questions or need a little extra help?